DIY Home Inspection Tips for Ohio Homeowners

Owning a home is a big responsibility, and while professional inspections are essential for identifying major issues, there are plenty of maintenance checks you can perform yourself between those official inspections. Regular DIY inspections allow you to catch small problems before they become costly repairs and keep your home in top shape. Ohio’s unique weather patterns, from humid summers to freezing winters, can take a toll on your home, making these DIY checks especially valuable. Here are some DIY home inspection tips for Ohio homeowners to maintain their property all year.


1. Check for Foundation and Basement Issues

What to Look For: Examine the foundation walls, basement, and crawl space for any cracks, signs of moisture, or musty odors. In Ohio’s rainy season, water can seep into basements and cause mold, so pay close attention to damp areas.


DIY Tips:

  • Seal any small cracks with a concrete patch.
  • Ensure downspouts are directing water away from the foundation.
  • Consider a dehumidifier in the basement to prevent moisture buildup.

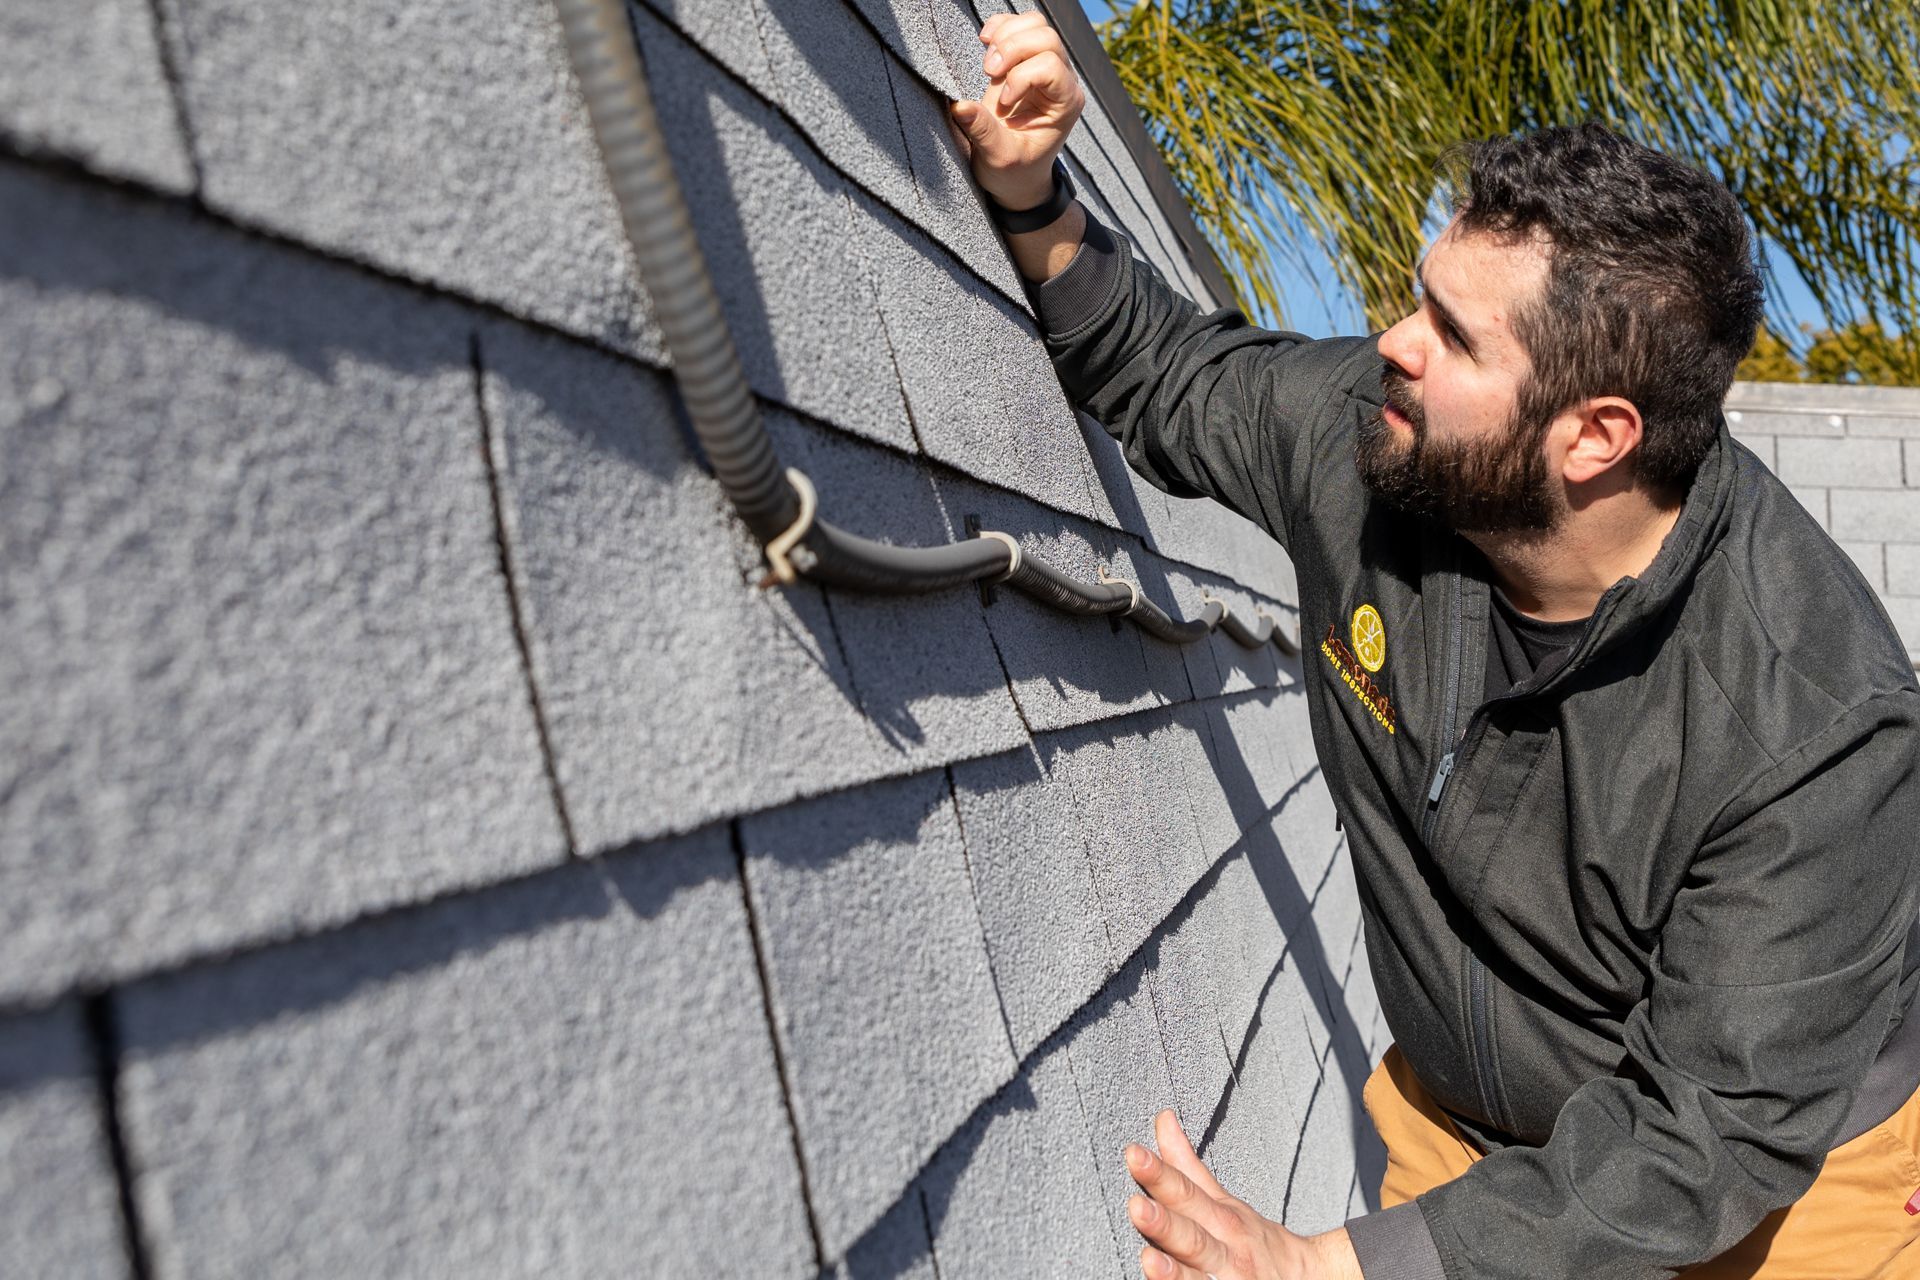
2. Inspect the Roof

What to Look For: Ohio weather can be tough on roofs, with heavy snow in the winter and thunderstorms in the summer. Look for missing or damaged shingles, signs of sagging, or any debris buildup in valleys or near gutters.


DIY Tips:

  • Use binoculars to check the roof from the ground if you’re uncomfortable climbing up.
  • Remove any debris, such as leaves or branches, that could trap moisture.
  • Check around chimneys and vents for any loose flashing that could lead to leaks.

3. Clean and Check Gutters

What to Look For: Clogged gutters can cause water to pool and overflow, potentially damaging your foundation or siding. Ohio's fall season, with plenty of falling leaves, makes gutter maintenance a priority.


DIY Tips:

  • Clean out gutters regularly, especially in the fall.
  • Make sure downspouts are clear and directing water away from the house.
  • Look for any signs of rust or sagging indicating the need for repair or replacement.

4. Examine Windows and Doors for Leaks

What to Look For: Leaky windows and doors can cause drafts, energy loss, and water damage. In Ohio’s colder months, drafts can increase your heating bills, while leaks in the warmer months can lead to rot or mold.


DIY Tips:

  • Check for gaps or cracks in the caulking around windows and doors and reapply caulk if needed.
  • Feel for drafts around windows and doors; if you notice any, consider adding weatherstripping.
  • Inspect the window frames for any signs of rot or moisture damage.

5. Test Smoke and Carbon Monoxide Detectors

What to Look For: Smoke and carbon monoxide detectors are vital for your family’s safety. Ohio winters often mean more time indoors, with heating systems running consistently, making CO detectors especially important.


DIY Tips:

  • Test each smoke and CO detector monthly.
  • Replace batteries at least once a year.
  • Per the manufacturer's recommendation, Replace detectors every 7-10 years.

6. Inspect Plumbing for Leaks

What to Look For: Pipe leaks can cause water damage, mold, and higher water bills. Inspect all accessible pipes in your basement, under sinks, and around the water heater.


DIY Tips:

  • Look for moisture or corrosion around pipes and fixtures.
  • Tighten any loose connections.
  • Test faucets and showerheads for leaks, and replace washers if necessary.

7. Evaluate HVAC System Efficiency

What to Look For: Ohio’s extreme temperature variations put HVAC systems through their paces. Check your heating and cooling systems regularly to ensure they’re running efficiently.


DIY Tips:

  • Change air filters every 1-3 months to keep the system running efficiently.
  • Clear any debris around outdoor HVAC units.
  • Listen for any unusual sounds when the system is running, which could indicate the need for a professional tune-up.

8. Inspect Exterior Siding and Paint

What to Look For: Your home's exterior protects everything inside, so it’s essential to keep it in good shape. Check for peeling paint, damaged siding, or signs of rot.


DIY Tips:

  • Touch up any areas with peeling paint to protect the underlying material.
  • Replace any damaged or cracked siding.
  • Clean the exterior with a gentle power wash to remove dirt and mildew.

9. Check the Attic and Insulation

What to Look For: A well-insulated attic can keep your home comfortable and energy-efficient year-round. Check for signs of mold, pests, or inadequate insulation.


DIY Tips:

  • Look for any signs of water leaks, especially after heavy rains or snowfall.
  • Ensure insulation is evenly distributed and covers all areas.
  • Check for any pest activity, such as nests or droppings, and address it immediately.

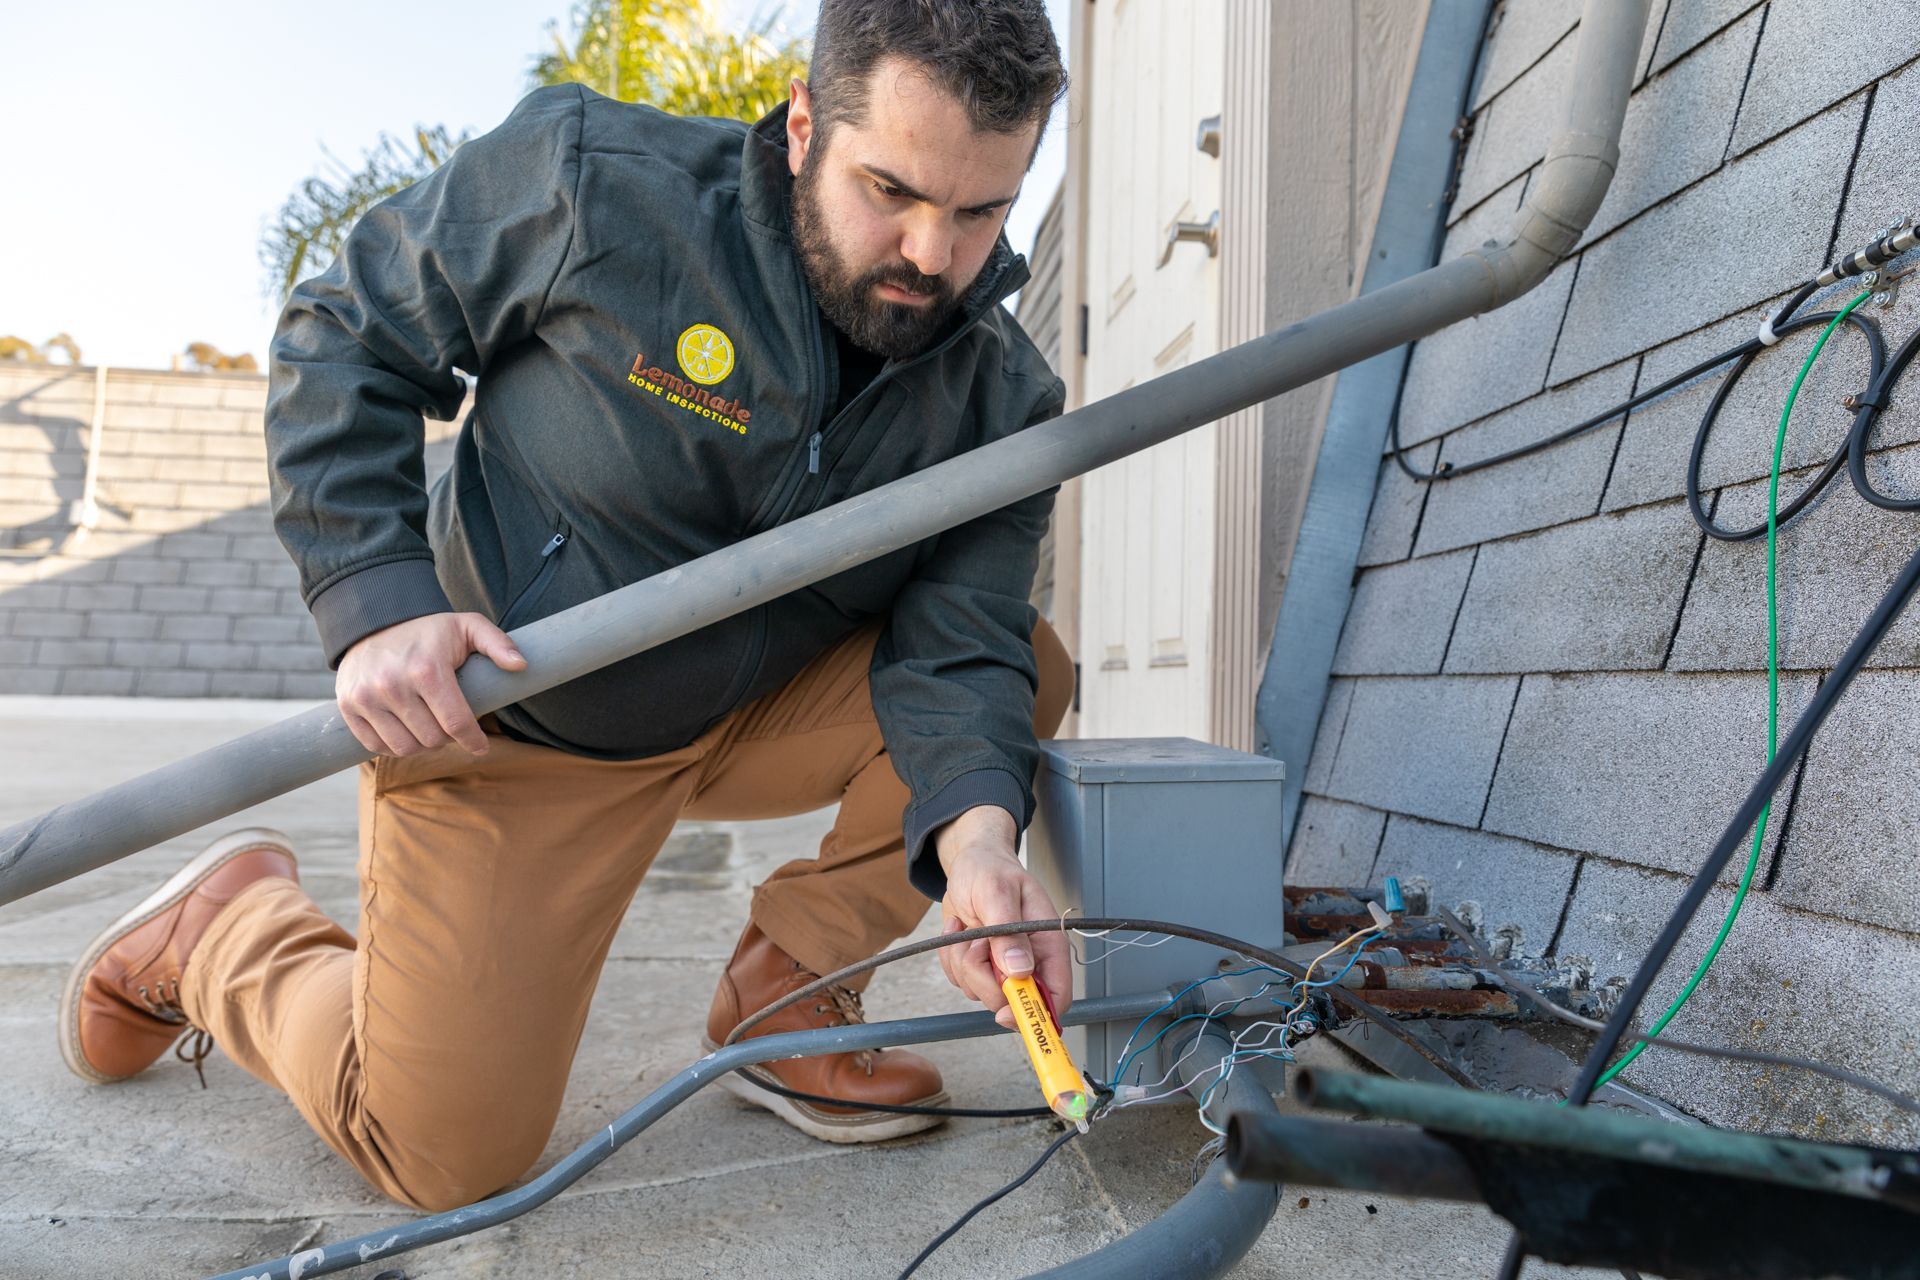
10. Test Electrical Outlets and Breakers

What to Look For: Electrical issues are not only inconvenient but can also be dangerous. Test all outlets and ensure the breaker box is functioning properly.


DIY Tips:

  • Use a tester to check each outlet for proper grounding.
  • Flip each breaker in the panel to ensure they all work as they should.
  • Look for any exposed wiring or loose connections, and consult a professional if you find anything unusual.

Why Regular DIY Inspections Matter

Taking the time to perform these regular DIY inspections can save you from costly repairs in the long run. By identifying minor issues early, you can address them before they become major problems. This routine maintenance also keeps your home in good shape for any future professional inspections, making it easier for inspectors to identify new issues and give a clean report.


When to Call a Professional

While DIY checks are beneficial, certain issues require a professional’s expertise. If you notice significant damage, leaks, or any potential safety hazards, it’s best to consult a qualified inspector or contractor. Additionally, scheduling a professional inspection every couple of years is a good practice to catch any issues you may have missed.

July 16, 2025
Ohio summers bring long, sunny days, rising temperatures, and a thick wave of humidity. While it may be great weather for barbecues and poolside relaxation, summer heat and humidity can seriously affect your home, especially its foundation and structural integrity. Understanding how seasonal heat and moisture affect your home is essential for proactive maintenance. In this post, we’ll explore the effects of summer weather on your home’s foundation and structure, signs of damage to watch for, and tips to protect your investment. 1. Soil Expansion and Contraction Ohio's soil, particularly clay-rich soils common throughout the state, is highly responsive to moisture changes. During summer: Excessive heat causes the soil around your home to dry out and contract. Sudden storms and humidity reintroduce moisture, causing the soil to expand again. This constant expansion and contraction places stress on your home’s foundation. Over time, the movement can lead to cracks, shifting, or uneven settling of the foundation. What to Watch For: Stair-step cracks in brick or block foundations Cracks in drywall, especially around doors and windows Doors or windows that stick or no longer close properly Sloping floors or gaps between walls and ceilings 2. Humidity and Moisture Intrusion While dry soil can be damaging, so can high humidity levels and moisture buildup, particularly in basements and crawl spaces. Warm, moist air can lead to: Condensation on cool basement walls or pipes Mold and mildew growth in poorly ventilated areas Wood rot in framing, support beams, or subflooring Humidity is especially problematic for older homes in Ohio with limited ventilation or waterproofing. What to Watch For: Musty odors in basements or lower levels Visible mold or mildew on walls, ceilings, or insulation Sagging or spongy floors Rust or corrosion on metal support structures 3. Cracks in Driveways and Patios It’s not just your house that’s affected; outdoor concrete surfaces like driveways, sidewalks, and patios are vulnerable to summer stress too. When concrete heats up, it expands. Without room for that expansion, it can lead to surface cracking. Then, when storms roll through, water seeps into those cracks and accelerates the deterioration, especially when paired with heavy foot or vehicle traffic. 4. Wood Framing and Structural Shifts Humidity can also impact the wooden components of your home. Wood absorbs moisture from humid air, which can cause it to swell, warp, or shift .  This movement may be minor, but over time it can: Affect framing around doors and windows Cause squeaky or uneven floors Lead to misaligned drywall and trim Proper ventilation and humidity control can reduce this risk. 5. Pest Activity Summer heat and moisture also attract pests, like termites, carpenter ants, and rodents, that can threaten your home’s structure. Termites, in particular, are drawn to moisture and can quietly do extensive damage to wooden framing and support beams. What to Watch For: Hollow-sounding wood or blistering paint Mud tubes along foundation walls (a sign of subterranean termites) Droppings, chewed wood, or nesting material in crawl spaces How to Protect Your Home ✅ Maintain Proper Drainage Ensure gutters are clean and downspouts extend away from the foundation. Ensure the grading around your home slopes away to prevent water pooling near the base. ✅ Use a Dehumidifier Install dehumidifiers in basements or crawl spaces to reduce excess humidity. This helps prevent mold, wood rot, and structural weakening. ✅ Inspect Your Foundation Regularly Walk around your home and basement every few months to check for cracks or signs of moisture. Catching issues early can save thousands in repair costs. ✅ Install or Maintain a Sump Pump Ohio homes prone to basement flooding should have a working sump pump. Check it seasonally and consider a battery backup in case of power outages. ✅ Schedule a Professional Inspection If you suspect structural movement, water damage, or humidity-related problems, a professional home inspection can pinpoint the cause and recommend solutions before the damage worsens. Conclusion While summer is a time for enjoying the outdoors, it’s also a season when your home may be under stress. Heat and humidity can quietly weaken foundations, shift structures, and encourage damaging moisture buildup. Ohio homeowners can protect their properties with regular inspections, good drainage, and smart moisture control strategies. When in doubt, call a qualified home inspector to assess potential issues before they become major repairs. Your home will thank you for it.
May 20, 2025
When it comes to hidden dangers in the home, radon gas often tops the list, especially for Ohio homeowners. You can’t see it, smell it, or taste it, but prolonged radon exposure can pose serious health risks. Unfortunately, Ohio is among the states with some of the highest average indoor radon levels in the U.S. That’s why understanding the risks and taking steps to test and mitigate radon is so important. What Is Radon? Radon is a naturally occurring radioactive gas that forms when uranium in soil, rock, and water breaks down. It seeps up through the ground and can enter homes through cracks in the foundation, sump pumps, floor drains, and even well water. Once inside, radon can accumulate, especially in lower levels like basements or crawl spaces, and become a health hazard. Why Is Radon a Problem in Ohio? According to the Ohio Department of Health, every Ohio county has recorded radon levels at or above the EPA’s action level of 4.0 picocuries per liter (pCi/L) . Ohio’s geological composition, which includes uranium-rich soils and bedrock, contributes to the elevated risk. This means that whether you live in Cleveland, Columbus, Cincinnati, or a rural area, your home could be affected by radon. Health Risks of Radon Exposure Radon is the second leading cause of lung cancer after smoking, according to the Environmental Protection Agency (EPA). Long-term exposure to high levels of radon increases your risk significantly, especially for smokers. Symptoms of radon-related health issues may not appear until years after exposure, making regular testing essential for early detection and prevention. How Radon Enters a Home Radon moves from the ground into your home through: Cracks in solid floors or walls Construction joints Gaps around pipes and cables Sump pump pits or floor drains Crawl spaces with exposed earth Once inside, it becomes trapped, especially in homes that are well-sealed or poorly ventilated. How to Test Your Home for Radon The only way to know your home’s radon level is to test for it. You have two main options: DIY Radon Test Kits Available at hardware stores or online. Follow the instructions carefully, place the test in the lowest livable level of your home (usually the basement), and send it to a lab for results. Best used for short-term preliminary testing (2 to 7 days). Professional Radon Testing More accurate and often required during real estate transactions. Certified radon measurement professionals use continuous radon monitors and can provide fast, detailed reports. Tip : Even if your neighbor’s home tested low, your home could still have high levels. Radon concentrations can vary dramatically from house to house, even on the same street. What If My Home Has High Radon Levels? If your radon test shows levels of 4.0 pCi/L or higher , the EPA recommends mitigation. Fortunately, radon mitigation is effective and typically involves: Installing a sub-slab depressurization system , which uses a fan and vent pipe to draw radon from beneath the home and release it safely outside. Sealing cracks and openings in the foundation to reduce radon entry points. Professional mitigation systems can reduce radon levels by up to 99%, making your home much safer for long-term occupancy. Radon and Real Estate Transactions in Ohio In Ohio, radon disclosure is not legally required , but testing is strongly encouraged during a real estate transaction. Buyers often request a radon test as part of their inspection process, and if elevated levels are found, they may negotiate for mitigation before closing. Sellers can also benefit by proactively testing and installing a mitigation system before listing their home, which increases buyer confidence and speeds up the sale. Conclusion Radon is a serious but manageable health risk, especially in Ohio, where elevated levels are common. Whether you’re a current homeowner or planning to buy a home, testing for radon is an affordable and straightforward step that can protect your family’s health and peace of mind. Key Takeaways: Radon is an invisible, odorless gas linked to lung cancer. Ohio has some of the highest radon levels in the country. Testing is the only way to know if your home has radon. Professional mitigation can effectively reduce high radon levels. Don’t guess, test. Schedule a radon test today or talk to your local home inspection professional about including radon testing in your next inspection. Your future self will thank you.